Table
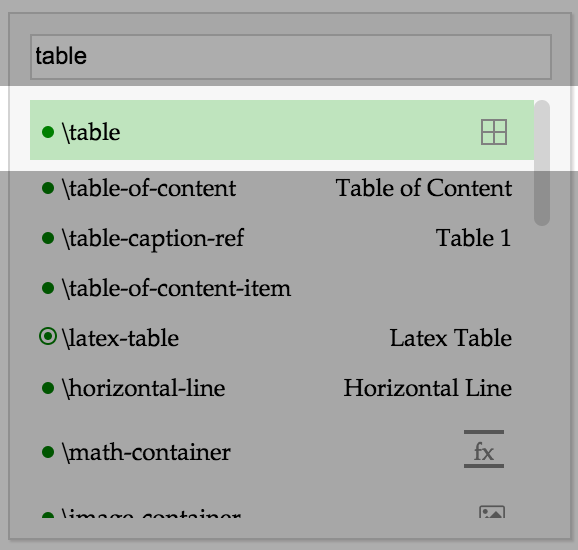
A default 3 x 3 table will be inserted.
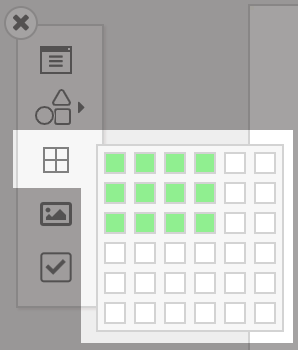
Another way to insert is using the Left Toolbar, which lets you select how many rows/columns to insert:
Inserting new Rows
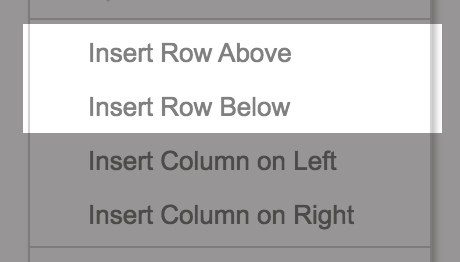
Section titled “Inserting new Rows”There are 3 different ways to insert a new row (when you are inside a table):
- Right click → Insert Row Above/Below
- Press Ctrl+Enter
- Copy rows (more than 2 rows) and paste
Inserting new Columns
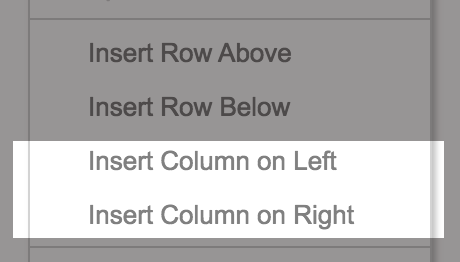
Section titled “Inserting new Columns”There are 2 different ways to insert a new column (when you are inside a table):
- Right click → Insert Column on Left/Right
- Copy columns (more than 2 columns) and paste
Delete Rows/Columns
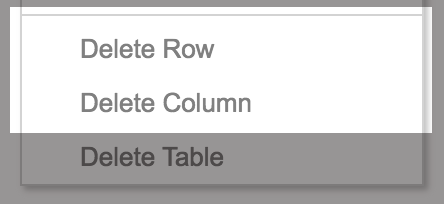
Section titled “Delete Rows/Columns”- Select rows/columns → Right click → Delete Row/Column
Styles and Settings
Section titled “Styles and Settings”Click the  icon that appears on the left of the table, or in the Toolbar.

More options appear:
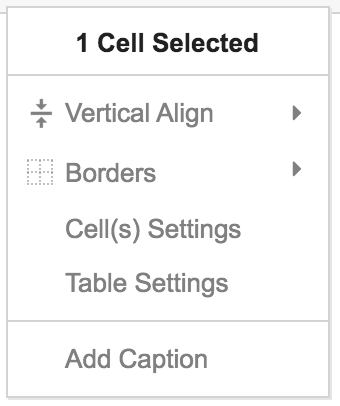
1 Cell Selected: shows how many cells are currently selected — in this case, one cell.
Vertical Align
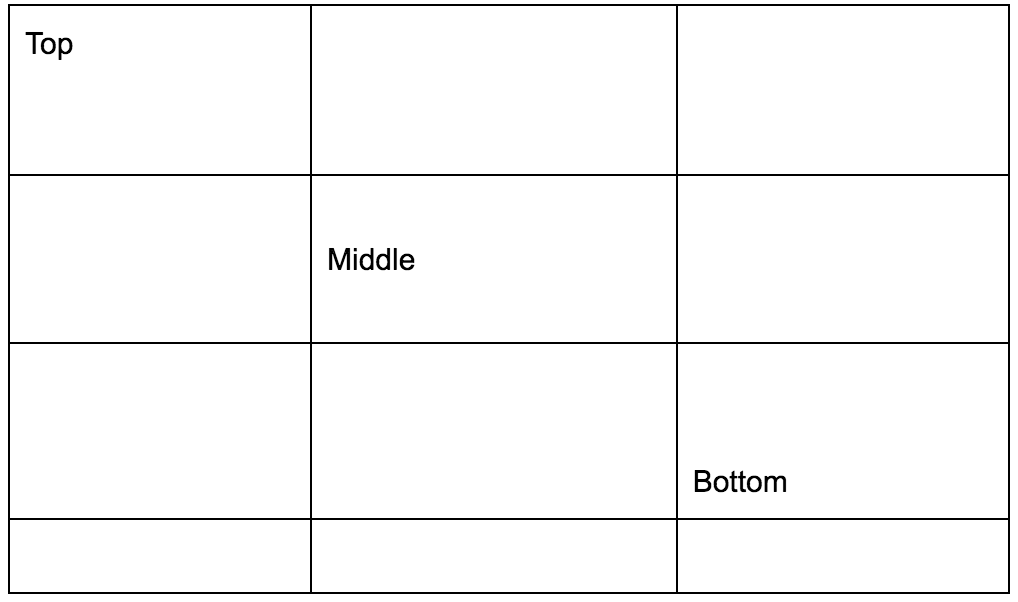
Section titled “Vertical Align”Default: Top
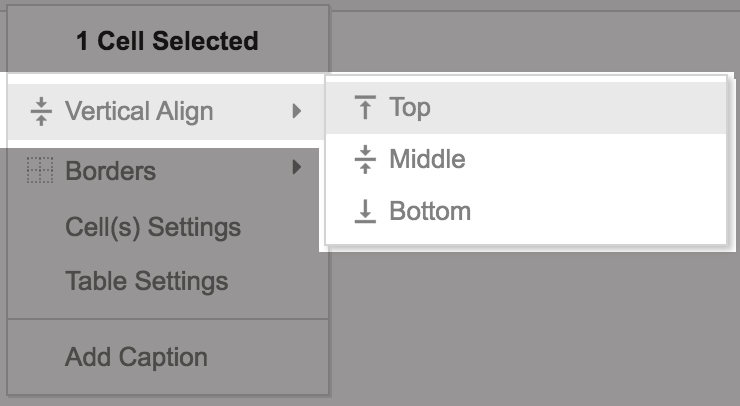
Example:
Borders
Section titled “Borders”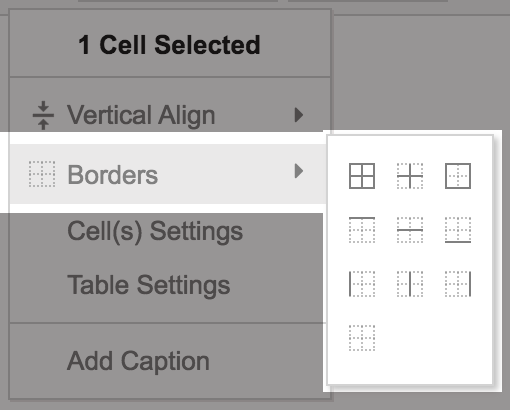
For the first 9 options, borders are added as depicted in the icons. For example,  adds inner borders to the selected cells.
The last option  clears all borders from the selected cells.
Cell Settings
Section titled “Cell Settings”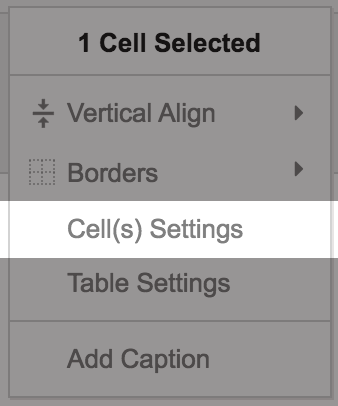
Settings dialog:
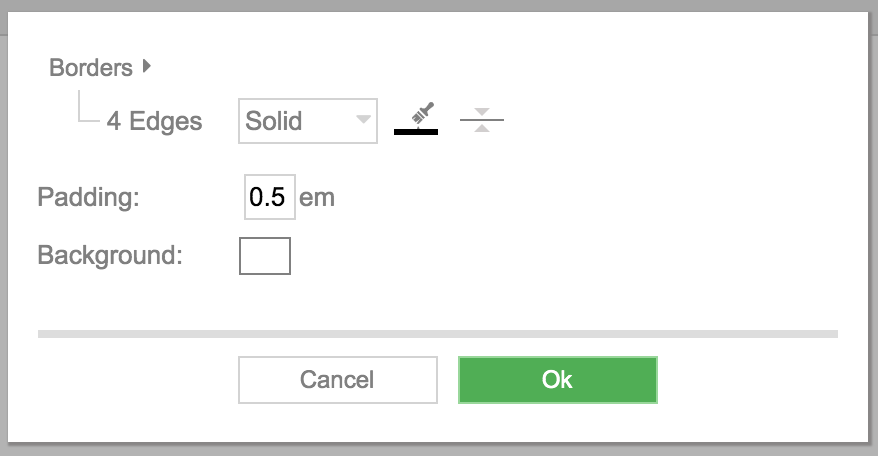
Click Borders to expand settings for all 4 edges.
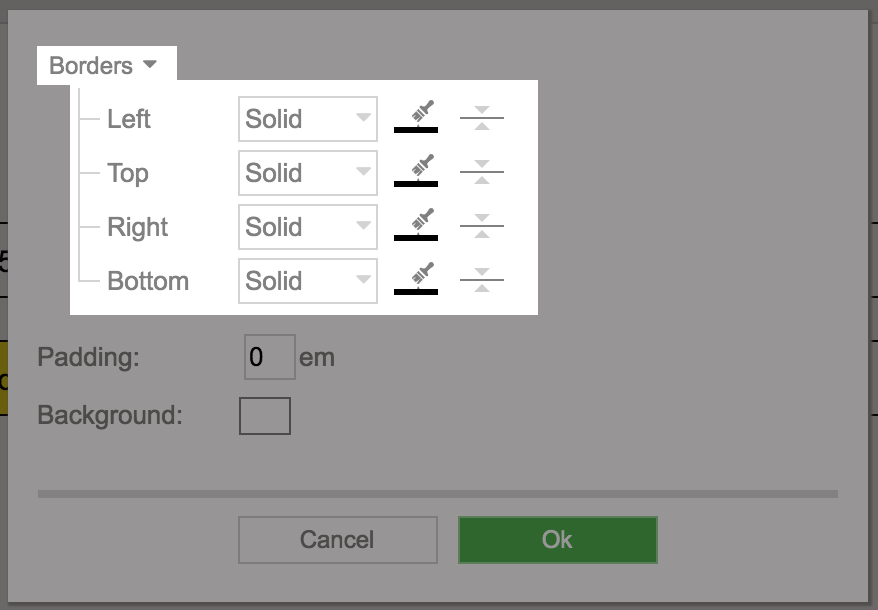
Example:

Table Settings
Section titled “Table Settings”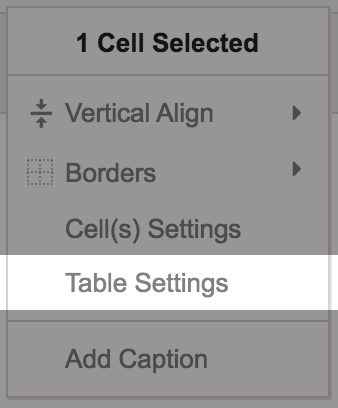
Same as Cell Settings, but applied to every cell in the table.
Add Caption
Section titled “Add Caption”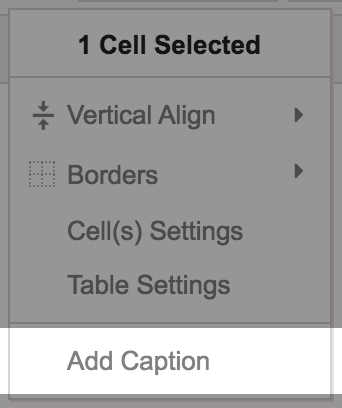
Example:
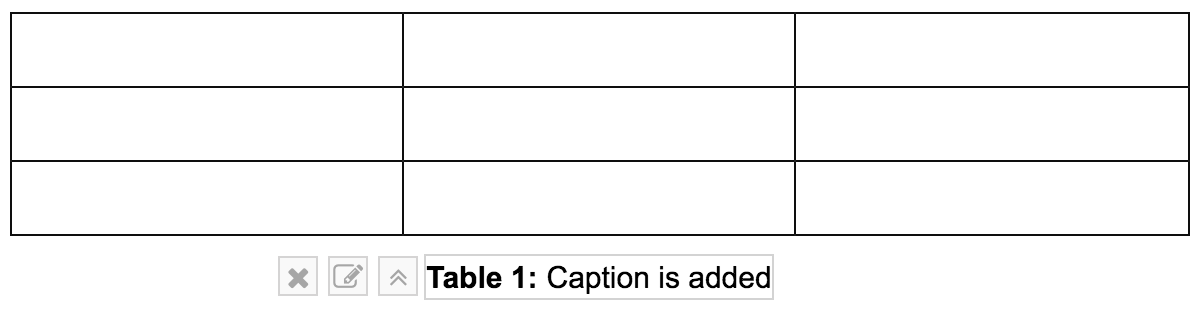
See Caption Section for more info about Settings/Position.
Merge/Unmerge Cells
Section titled “Merge/Unmerge Cells”Select multiple cells, then right-click and choose Merge Cells.
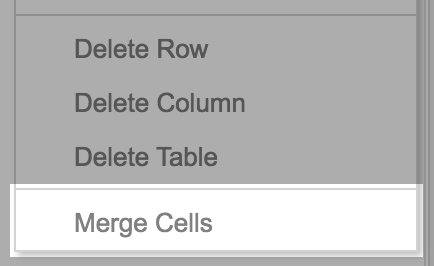
Example:
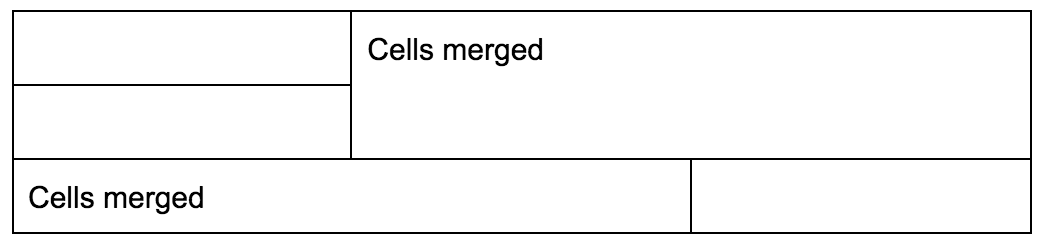
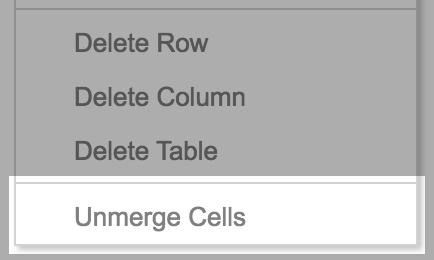
Select the merged cell, then right-click and choose Unmerge Cells.
Resize
Section titled “Resize”Rows and columns can be resized by hovering over vertical or horizontal borders and dragging to adjust the width or height. There are some constraints:
- Minimum Column Width is 10 pixels
- Minimum Row Height is the height of the content inside that row plus padding.