Basic Editing
Mathcha has two main editing modes: Text Mode for writing regular text, and Math Mode for typing mathematical expressions. Each mode has its own toolbar and behavior.
Text Mode
Section titled “Text Mode”When your cursor is in a text area, the toolbar shows text formatting options:
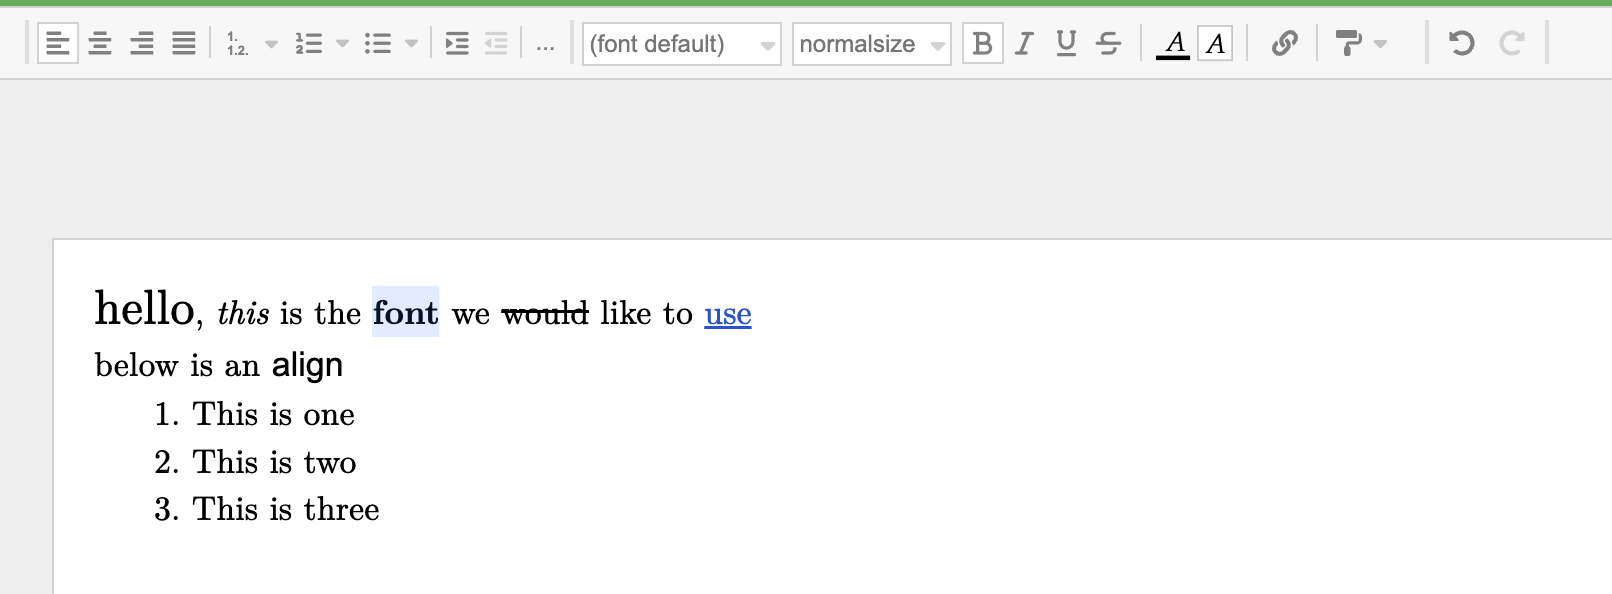
Text Formatting
Section titled “Text Formatting”| Button | Shortcut | Description |
|---|---|---|
| B | ⌘+B | Bold |
| I | ⌘+I | Italic |
| U | ⌘+U | Underline |
| S | — | Strikethrough |
Font and Size
Section titled “Font and Size”Use the Font dropdown to change the typeface:
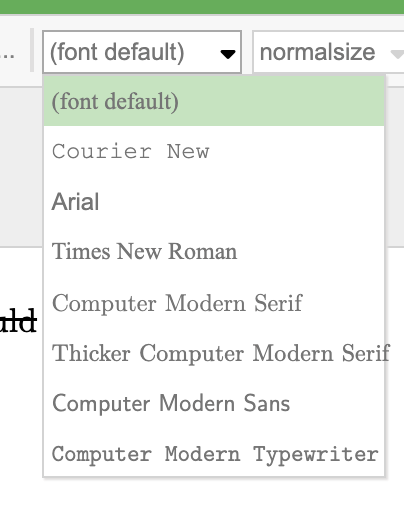
Available fonts include Courier New, Arial, Times New Roman, Computer Modern Serif, Thicker Computer Modern Serif, Computer Modern Sans, and Computer Modern Typewriter.
Use the Size dropdown to adjust the text size:
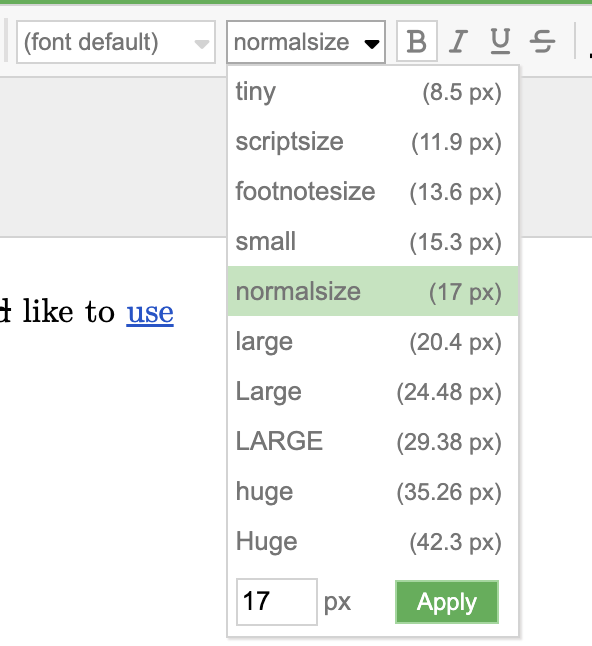
Sizes follow LaTeX naming conventions — from tiny (8.5 px) to Huge (42.3 px), with normalsize (17 px) as the default. You can also enter a custom pixel value at the bottom and click Apply.
Text Color
Section titled “Text Color”Click the A buttons in the toolbar to set text color or background highlight color. A color picker opens with a spectrum selector, Hex/RGBA input fields, and preset color swatches:
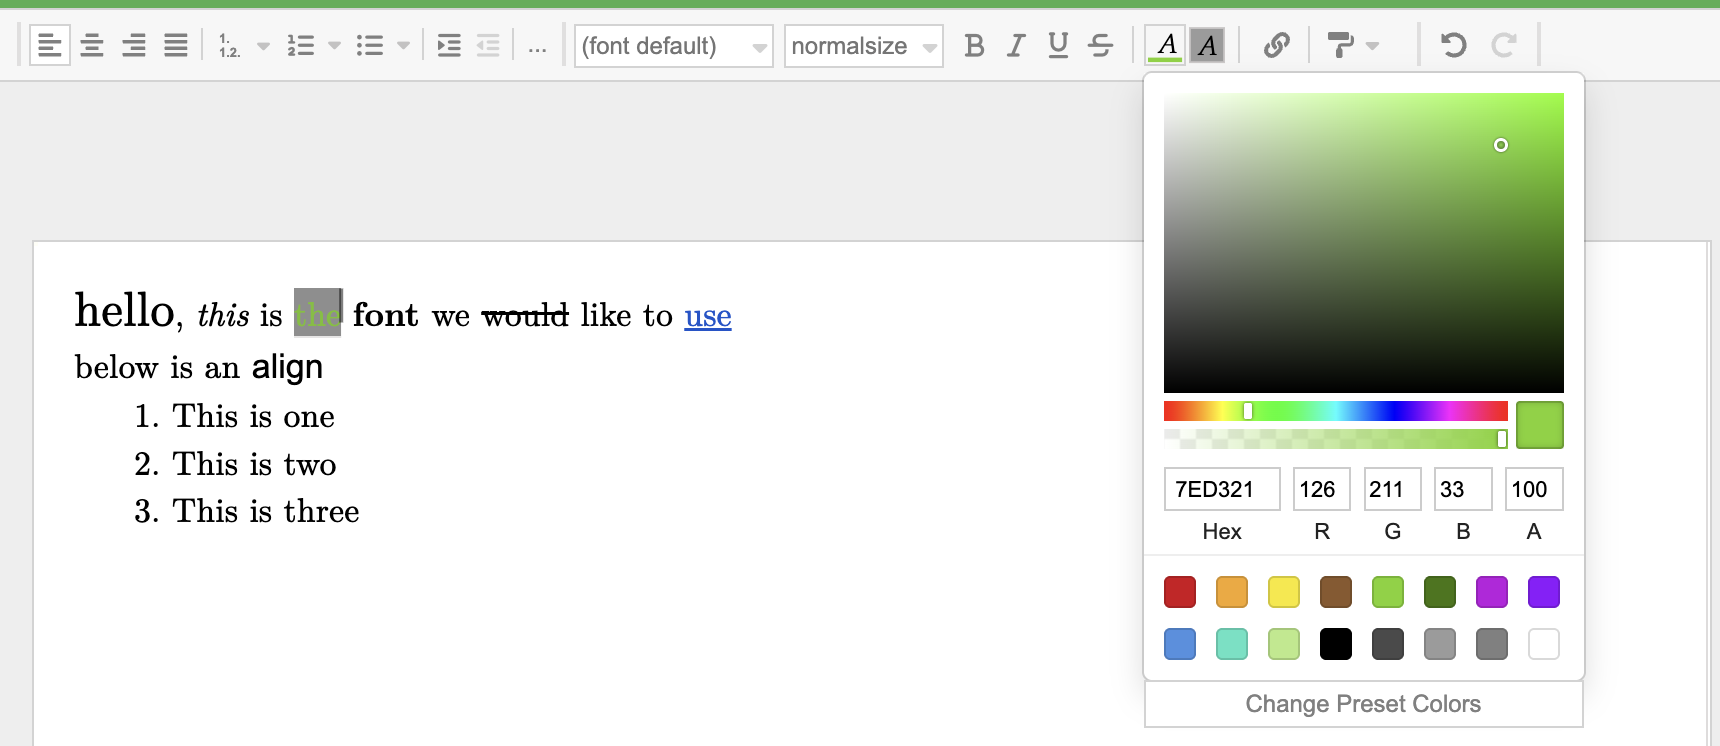
Click Change Preset Colors to customize the quick-access color palette.
Alignment
Section titled “Alignment”The alignment buttons on the left side of the toolbar control text alignment:
- Left align
- Center align
- Right align
- Justify
Mathcha supports both ordered and unordered lists with multiple styles and nesting levels.
Ordered lists — click the ordered list dropdown to choose a numbering template:
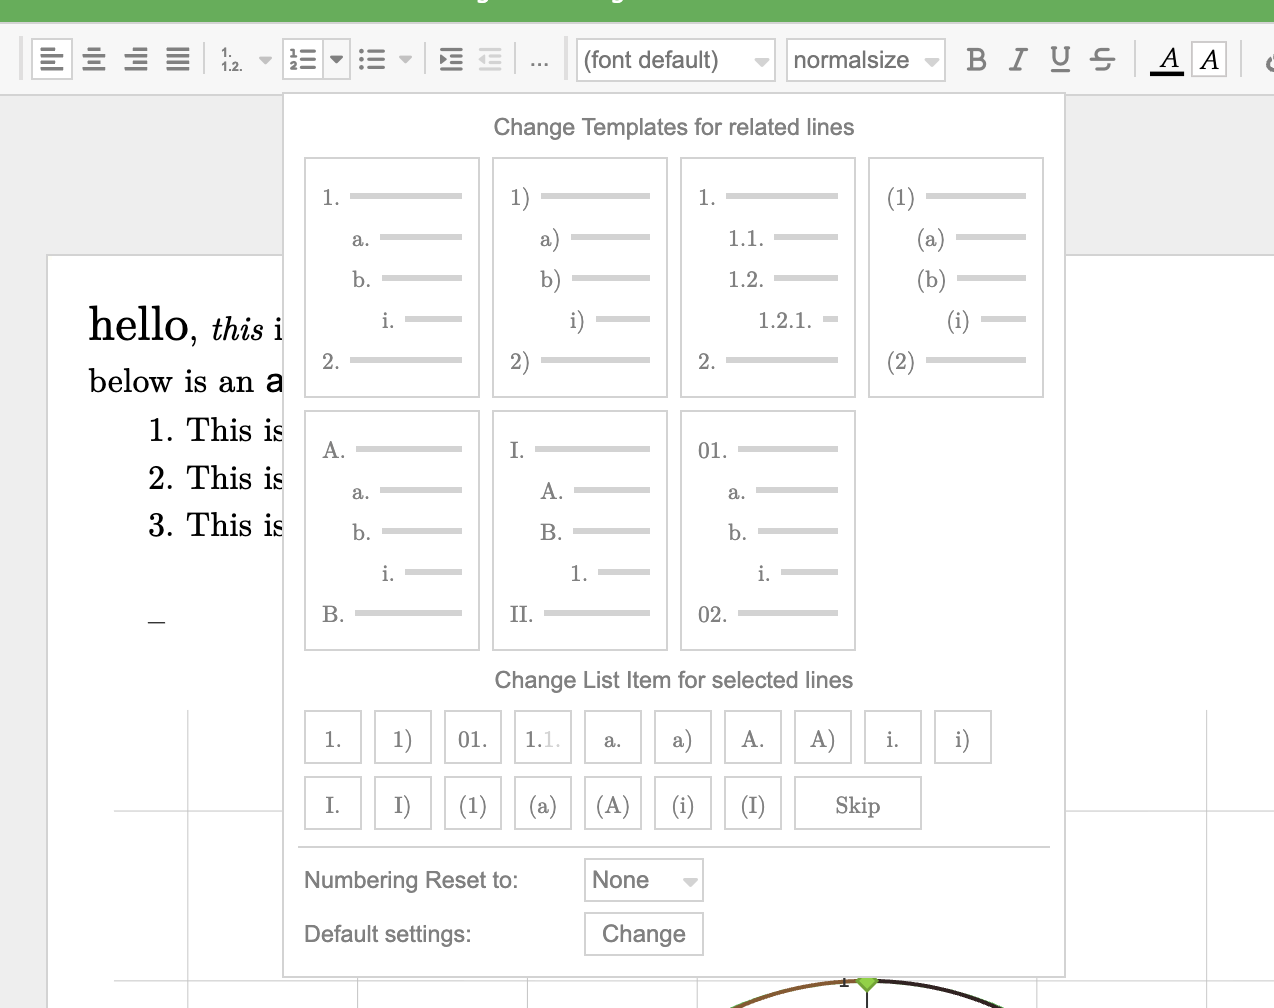
Templates define the numbering style at each nesting level (e.g., 1. a. i. or 1) a) i)). You can also change individual list items using the “Change List Item for selected lines” options, and configure Numbering Reset to and Default settings.
Unordered lists — click the unordered list dropdown to choose a bullet template:
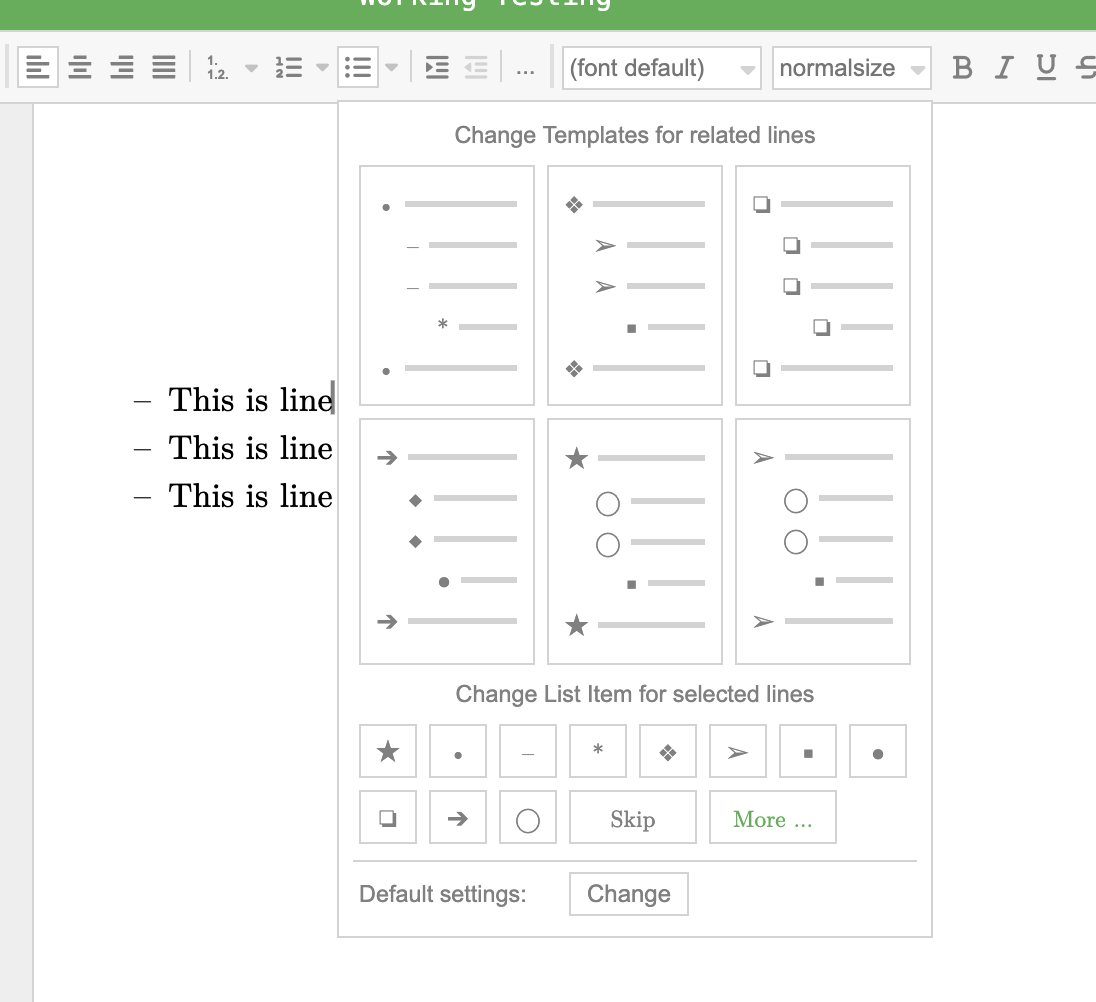
Bullet styles include dots, dashes, arrows, stars, diamonds, squares, circles, and more.
Indentation
Section titled “Indentation”Use the indent and outdent buttons (➡ ⬅) to increase or decrease the indentation level of selected lines.
Hyperlinks
Section titled “Hyperlinks”Select text and click the link button (or press ⌘+K) to add a hyperlink:
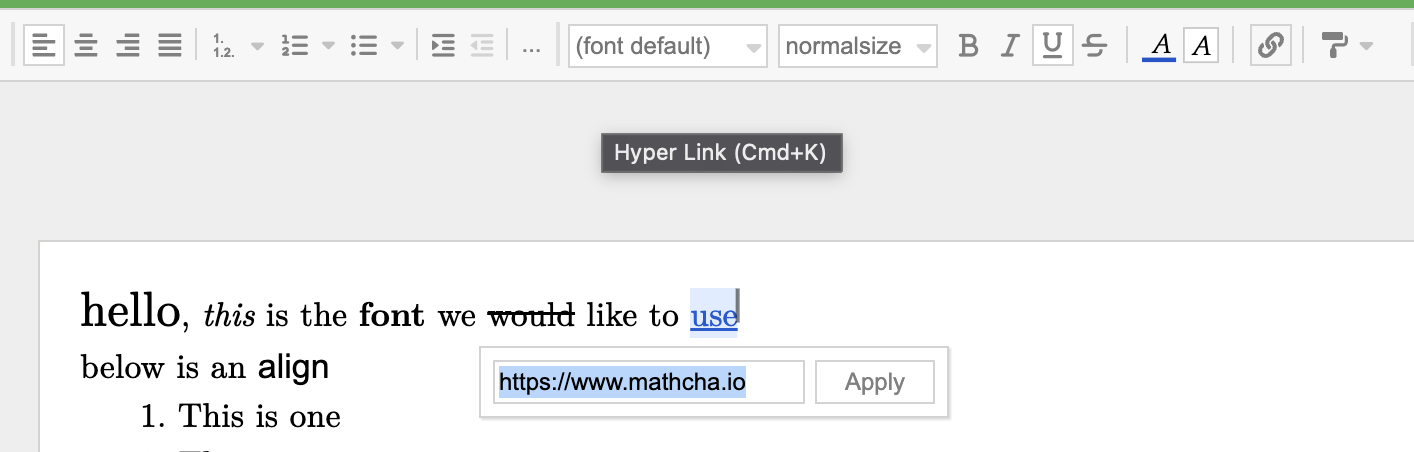
Enter the URL and click Apply to make the selected text a clickable link.
Text Direction and Spacing
Section titled “Text Direction and Spacing”Click the … (more) button on the toolbar to access additional options:
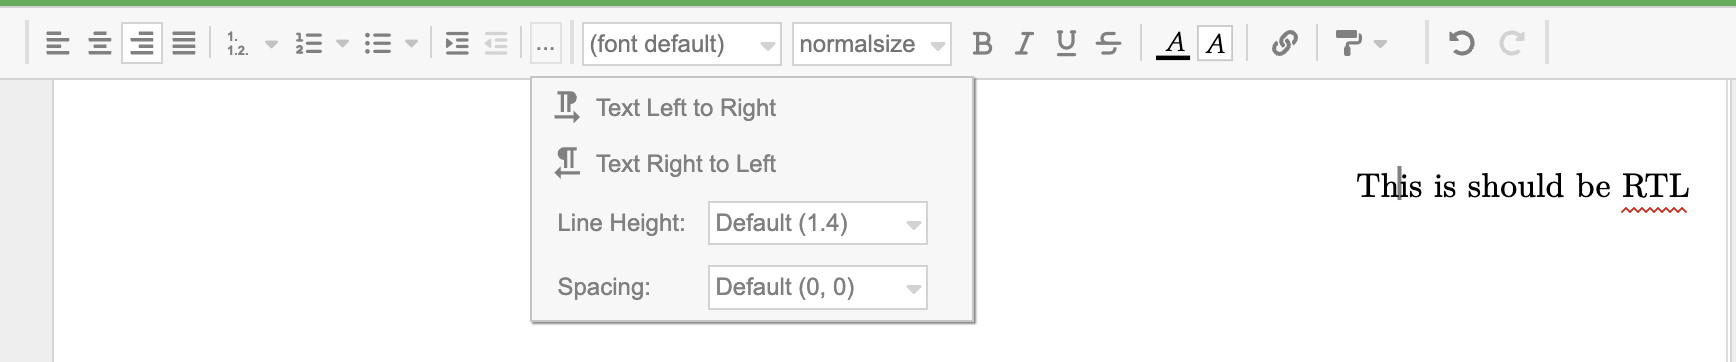
- Text Left to Right / Text Right to Left — set text direction (useful for RTL languages like Arabic or Hebrew)
- Line Height — adjust the line spacing (default: 1.4)
- Spacing — adjust paragraph spacing (default: 0, 0)
Math Mode
Section titled “Math Mode”Click inside a math container or inline math expression to enter Math Mode. The toolbar changes to show math-specific options:
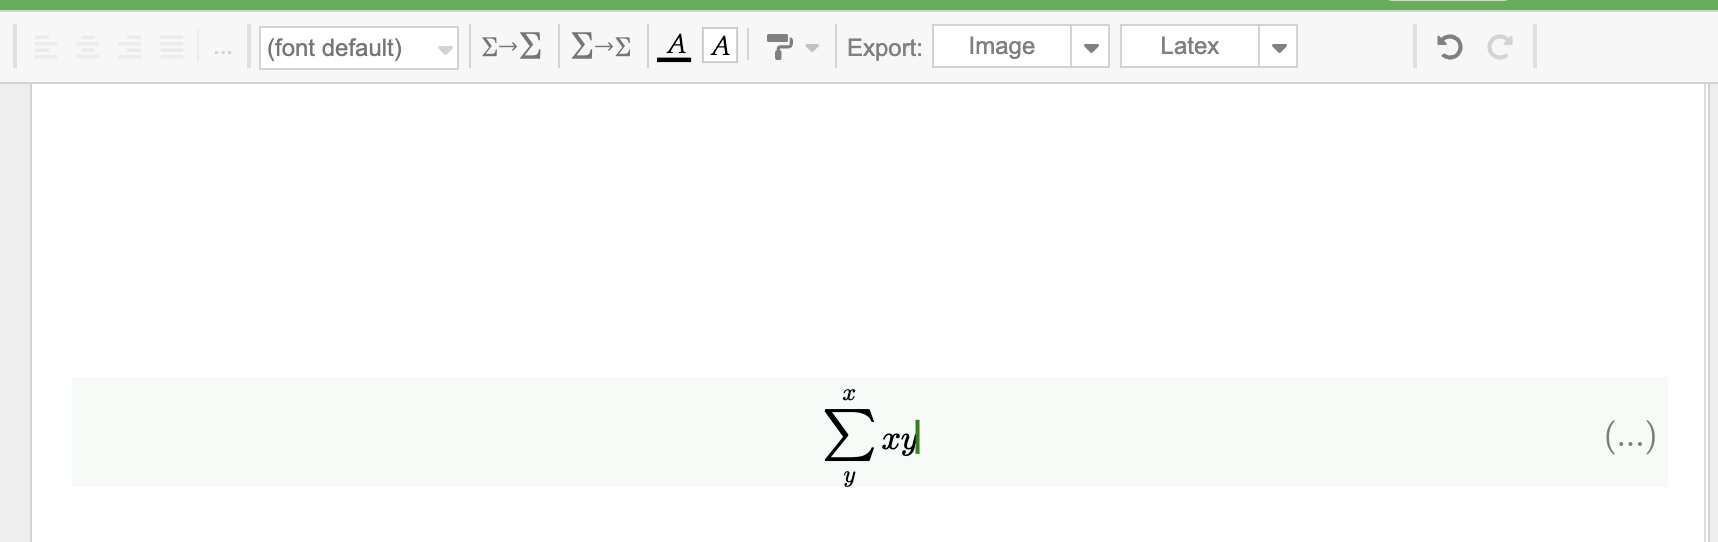
Math Toolbar
Section titled “Math Toolbar”| Button | Description |
|---|---|
| Font | Change the math font |
| Σ→Σ | Toggle displaystyle for the current expression |
| Σ→Σ (bold) | Toggle displaystyle for inline math |
| A | Text color |
| A (highlight) | Background highlight color |
| Flag | Additional options |
| Export: Image | Export the math expression as an image |
| Export: Latex | Export as LaTeX code |
Selecting Math
Section titled “Selecting Math”Click and drag inside a math expression to select parts of it. The selection is shown with a blue highlight:
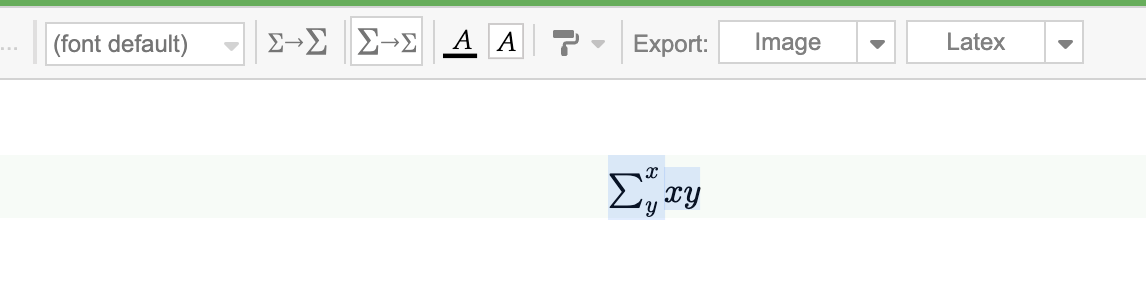
Highlighting Math
Section titled “Highlighting Math”Use the highlight button (A with colored background) to add a background color to math expressions, useful for emphasizing specific parts:
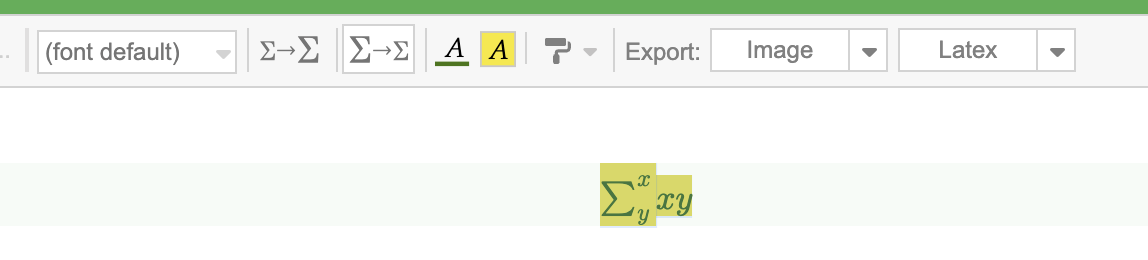
Exporting Math
Section titled “Exporting Math”Each math expression can be exported individually. Click the Image dropdown in the toolbar for export options:
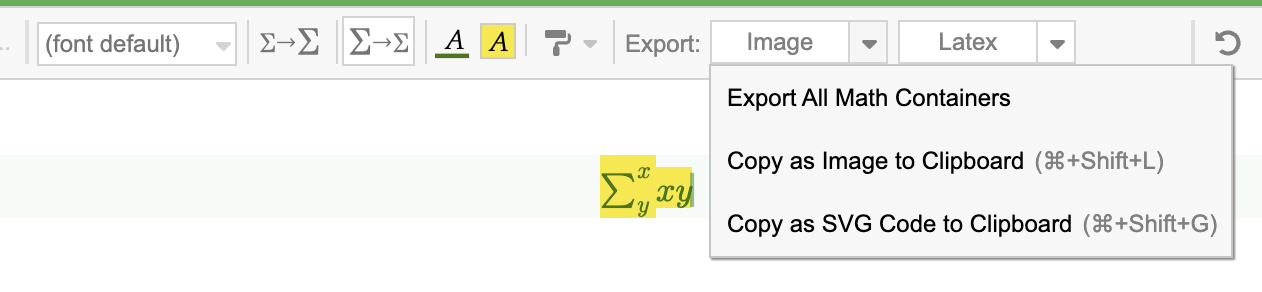
- Export All Math Containers — export every math container in the document
- Copy as Image to Clipboard (
⌘+Shift+L) — copy the expression as an image - Copy as SVG Code to Clipboard (
⌘+Shift+G) — copy as SVG markup
Click the Image button directly to open the export dialog with format options:
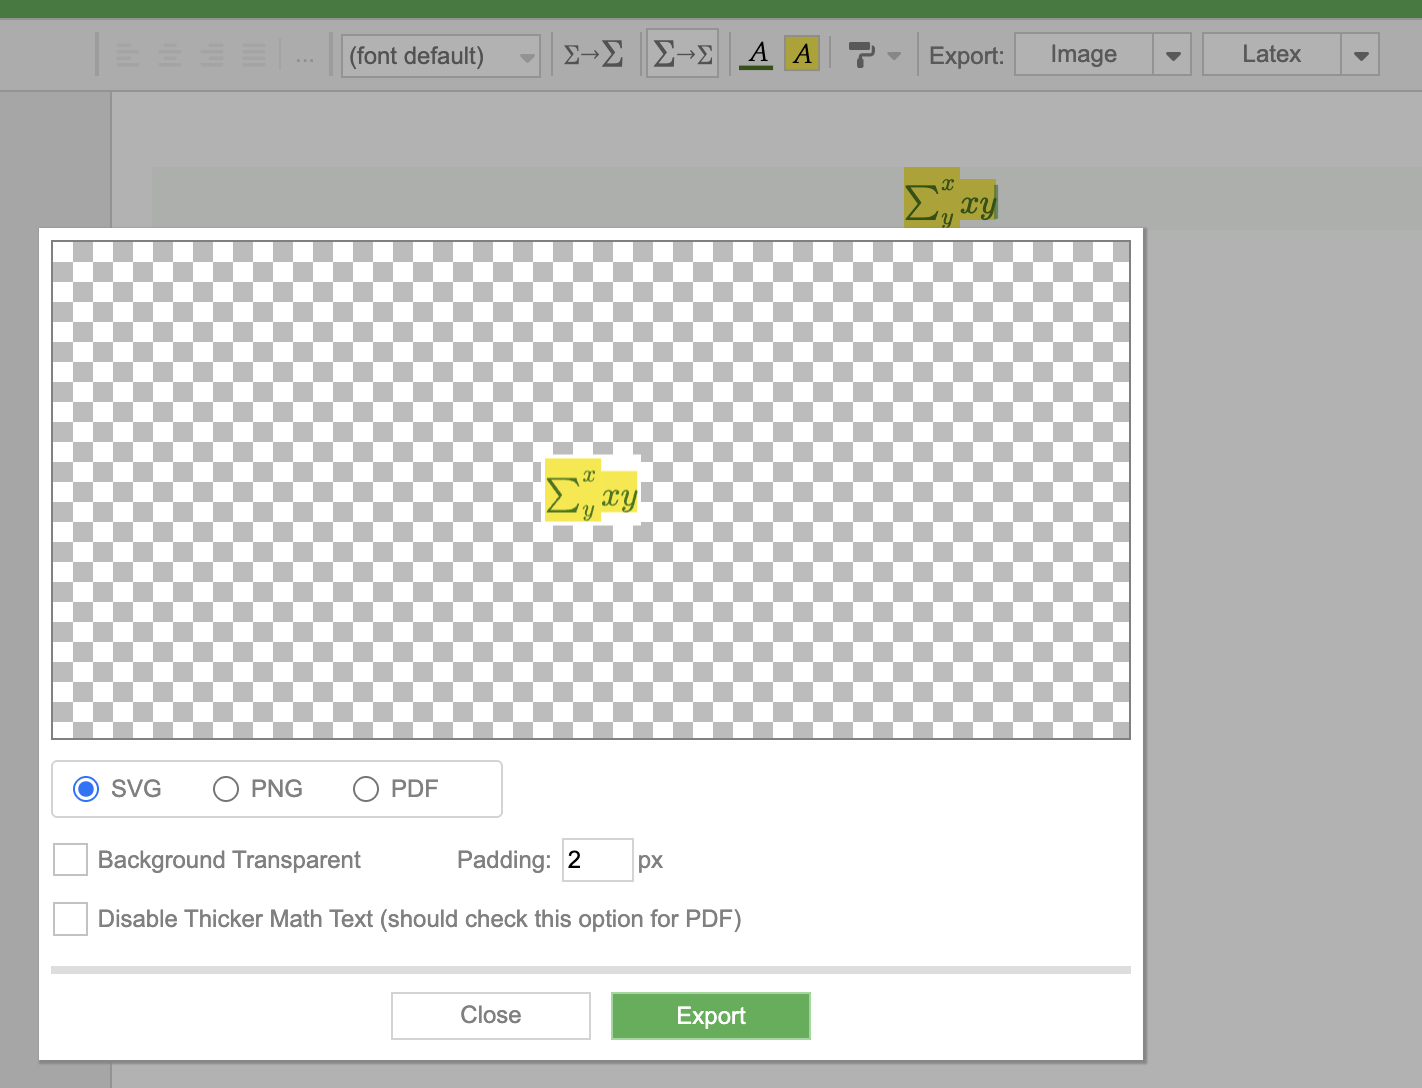
- SVG / PNG / PDF — choose the export format
- Background Transparent — toggle transparent background
- Padding — add padding around the expression (in pixels)
- Disable Thicker Math Text — recommended for PDF export